Visit to hackspace with Ben, Alex, Sam, Cameron and Charlie.
Things Done
- Started a 3D print of the nose cone for November Rocket.
- Printed a quarter piece of the gen des skeleton airframe to body tube component designed by Sam.
- Collected Easy Composites order and foam.
- Spoke to technicians about tool pathing for routing foam molds for panels and nose cones.
- Spoke to IFR students about carbon fibre manufacturing.
- CNC routed convex body panel mold.
Conversation with Technician
- Helped with toolpathing
- Said our foam was too low density to lay up CFRP onto.
- Suggested either buying denser foam/modelling board or applying a form of sealant (can't remember name suggested).
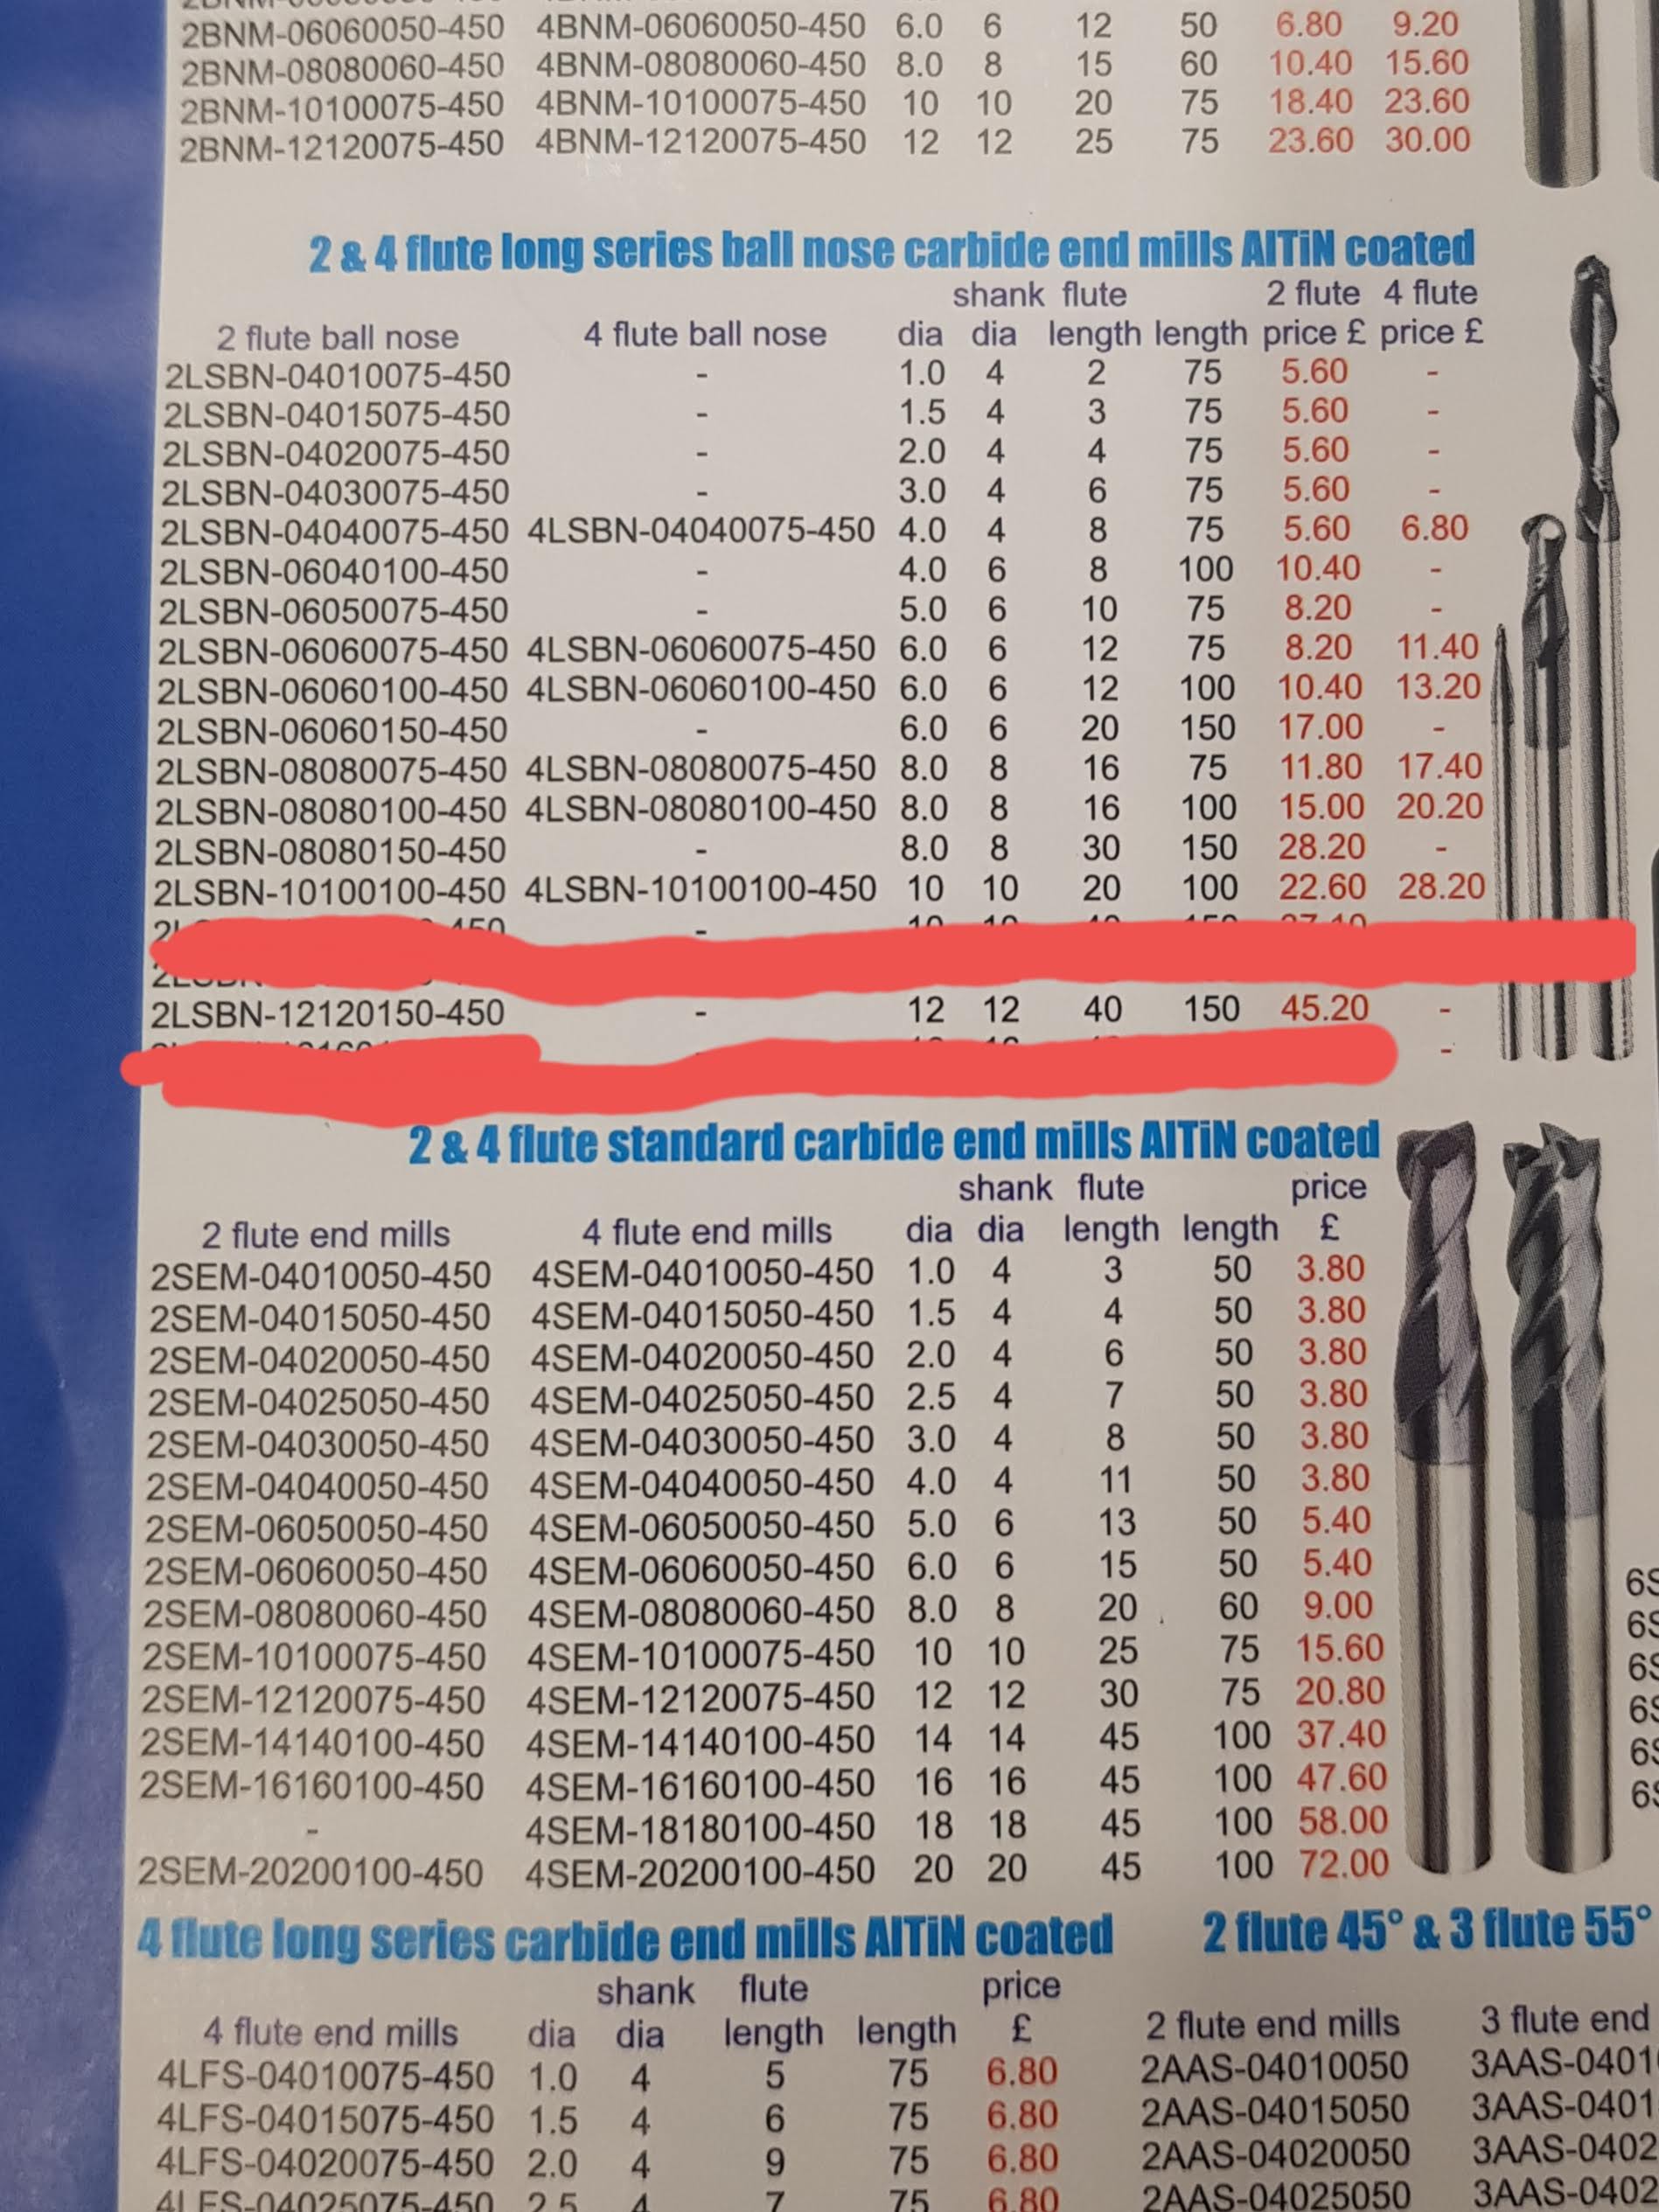
- The edges of the nose cone mold were too steep to route using their drill bits.
- Suggested buying a new drill bit (see image below):
- Potential alternative discussed between Ben and Charlie was to cut mold up into more manufacturable sections and glue together.
Conversation with IFR
- They have been experimenting with carbon fibre wet layups for several weeks now.
- Have been using large 3D printed molds.
-
The following process should also work for foam:
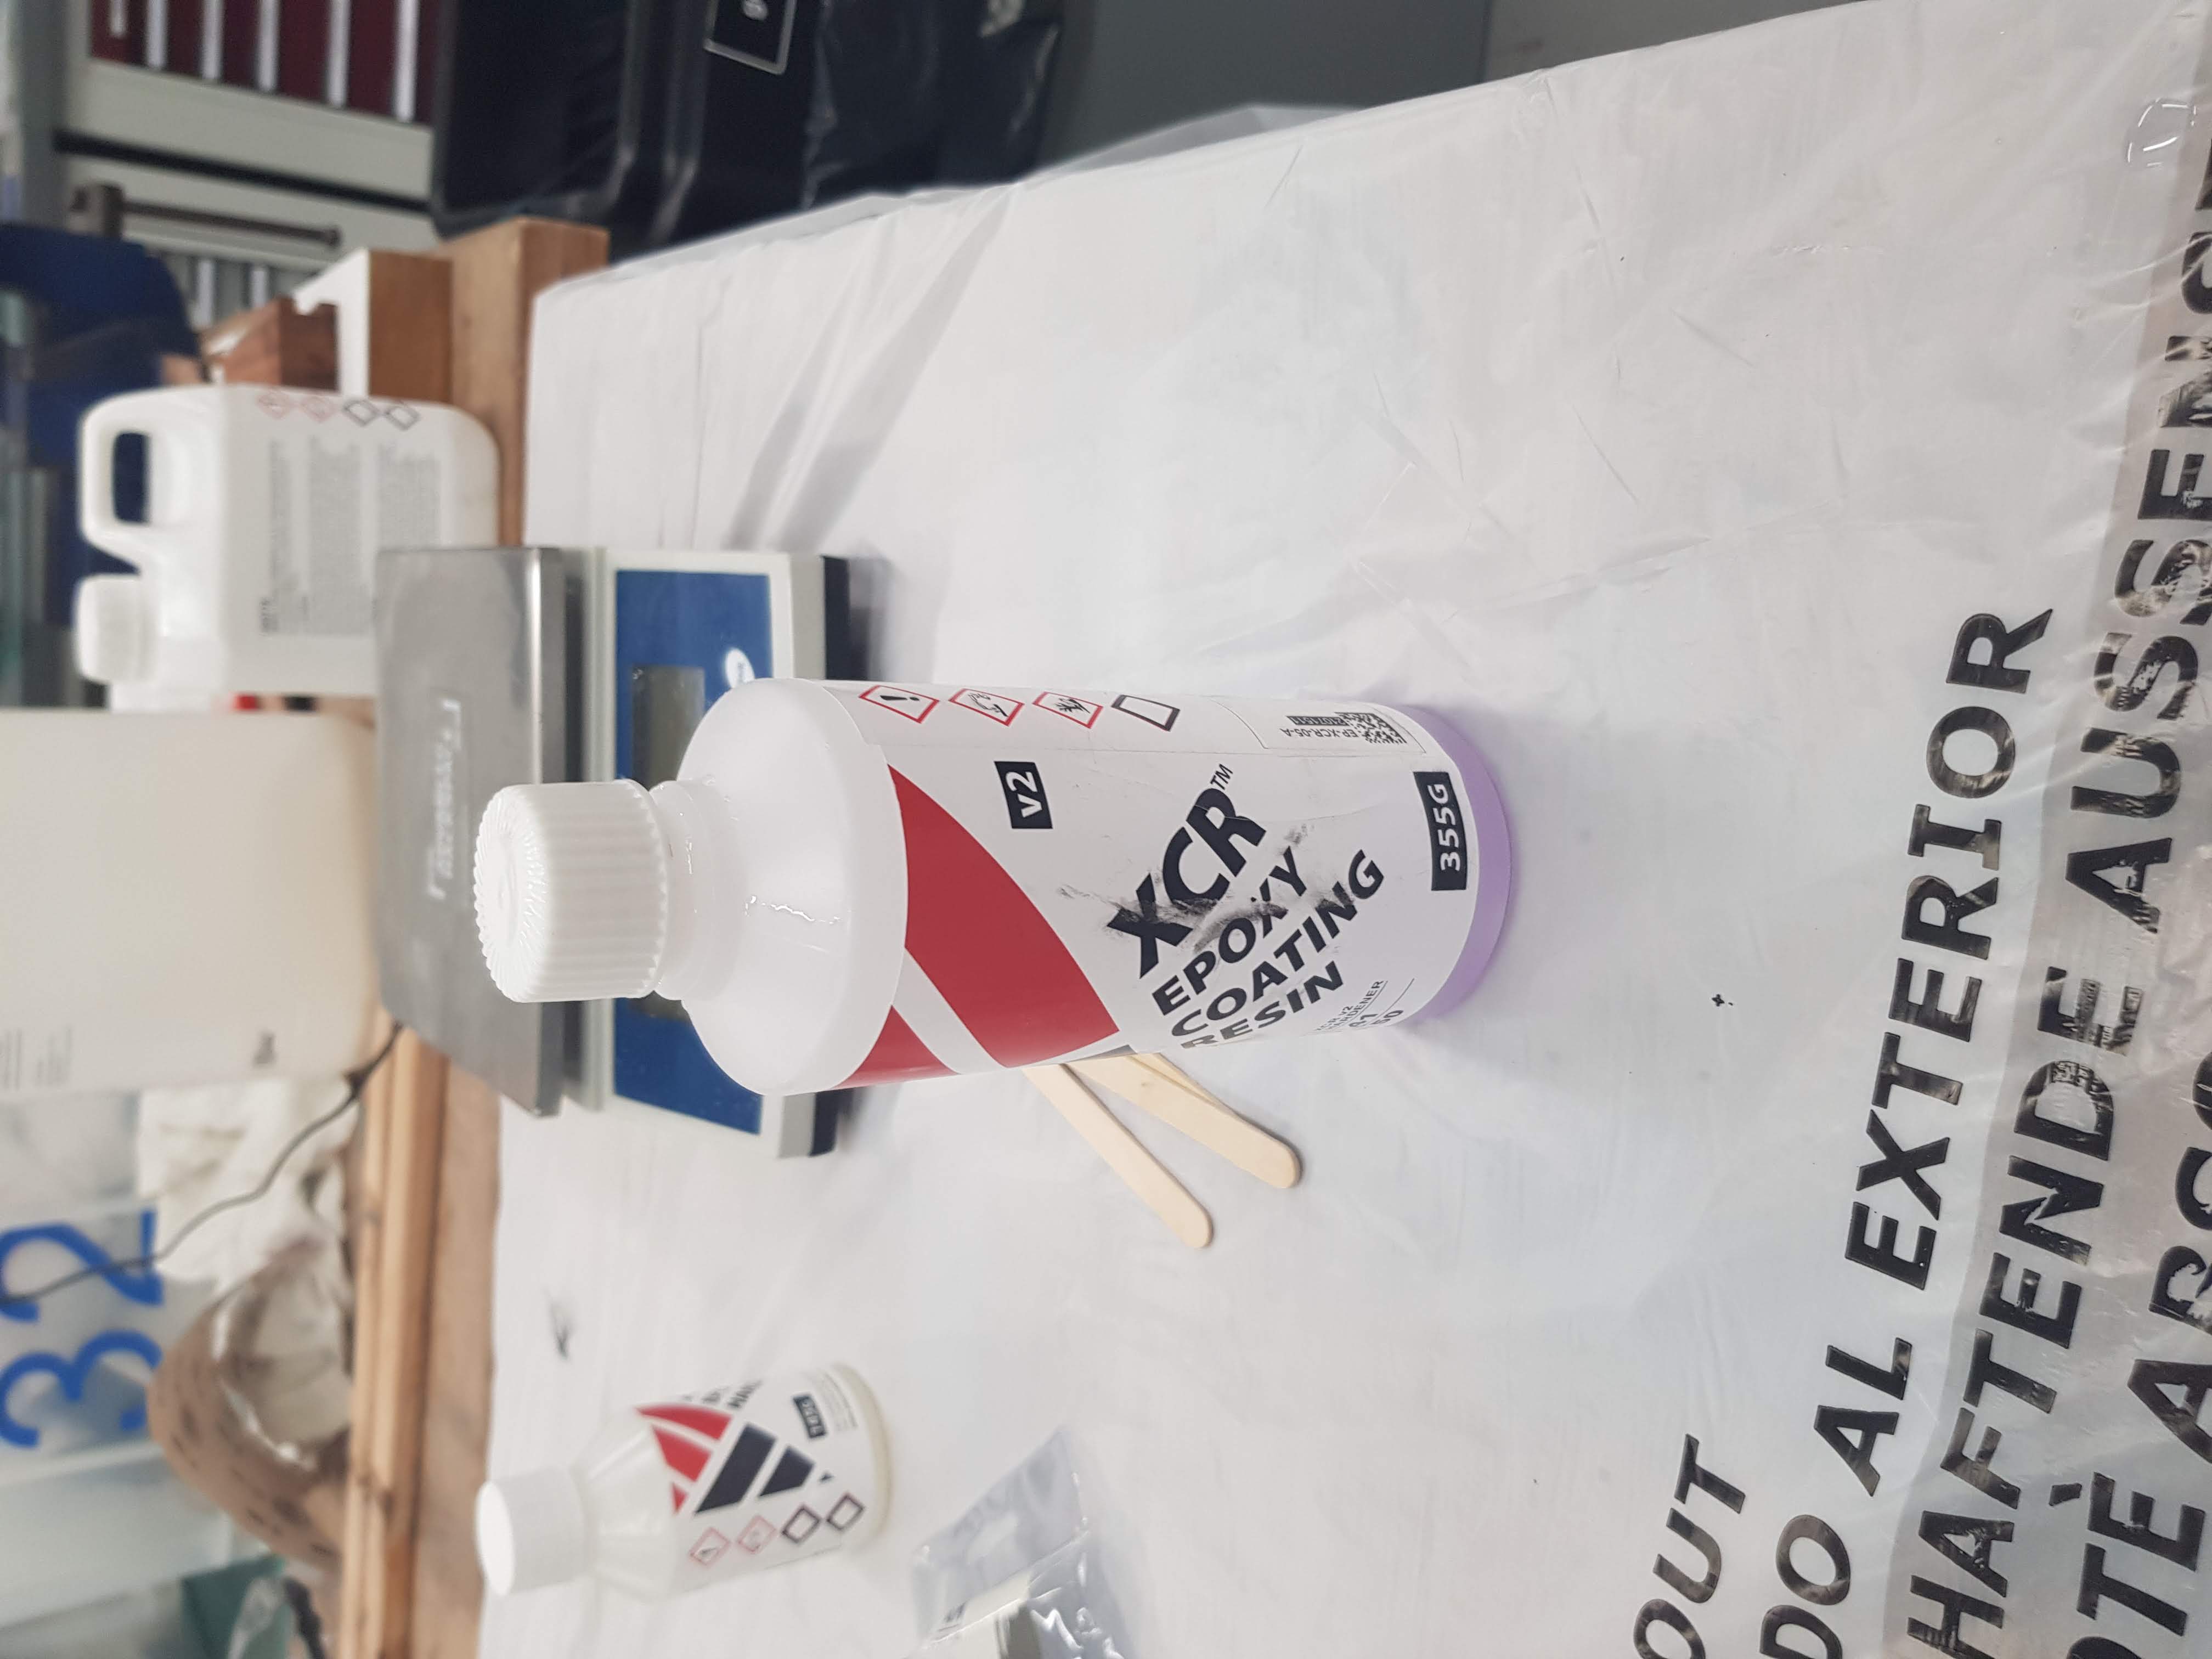
- One printed, the molds are sanded down to a smooth finish.
- The XCR epoxy coating is applied (see image below):
-
- Allow XCR coating to set overnight.
- Sand down to a smooth finish.
- Apply release wax
- Once wax is semi-set apply epoxy layer (not XCR! The epoxy used for wet layup should be used instead)
- Immediately start layering on carbon fibre and epoxy layers.
- Vacuum bag and leave to set.
- Sand and polish surface.